


How to Install DWV Pipe: Step-by-Step Instructions
Understanding the Essentials of DWV Plumbing Systems
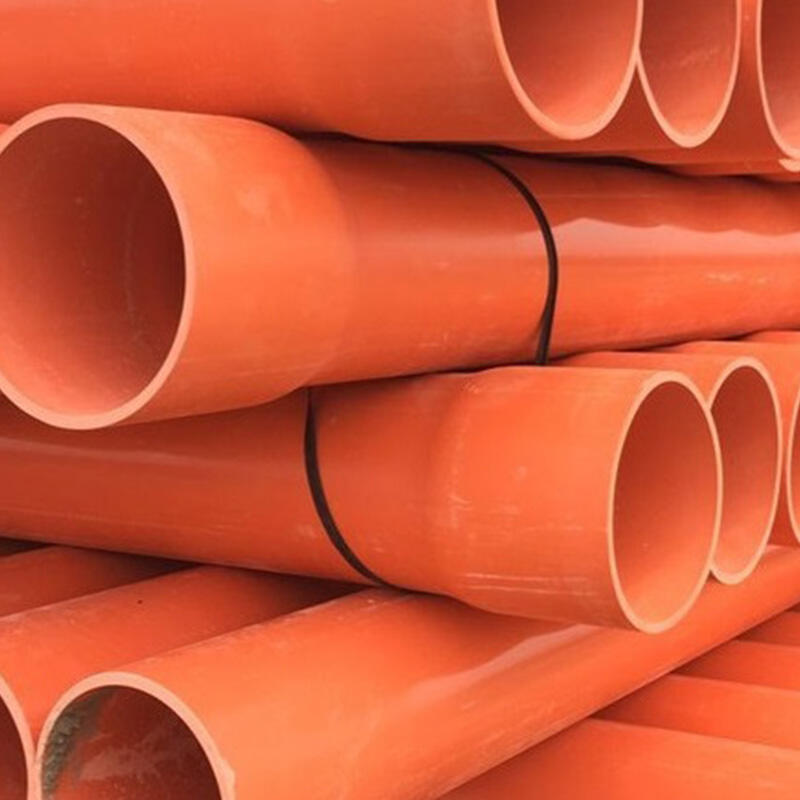
A well-designed drainage system forms the backbone of any functional plumbing infrastructure, and dwv pipe plays a crucial role in this setup. DWV, which stands for Drain-Waste-Vent, represents a specialized piping system designed to efficiently remove wastewater while maintaining proper air pressure throughout the plumbing network. Before diving into the installation process, it's essential to understand that dwv pipe differs from standard water supply pipes in both design and function.
Modern dwv pipe installations typically utilize PVC materials, known for their durability, cost-effectiveness, and ease of installation. These pipes are specifically engineered to handle the simultaneous flow of water and air, ensuring smooth drainage while preventing sewer gases from entering living spaces. The success of your plumbing project largely depends on proper planning and adherence to local building codes.
Preparation and Planning for DWV Installation
Essential Tools and Materials
Before beginning your dwv pipe installation, gathering the right tools and materials is crucial for success. You'll need a tape measure, level, hacksaw or pipe cutter, primer and cement for PVC connections, and various fittings appropriate for your specific project. Having spare pieces of dwv pipe on hand can help address unexpected challenges during installation.
Safety equipment is equally important - protective goggles, work gloves, and a respirator for when you're working with primers and cements should all be readily available. Don't forget to have proper ventilation in your work area, especially when using adhesives.
Layout Planning and Code Compliance
Creating a detailed layout plan is vital for any dwv pipe system. This involves measuring your space carefully and mapping out the exact route your pipes will follow. Consider factors like proper slope (typically 1/4 inch per foot for horizontal runs), vent stack locations, and access points for future maintenance.
Familiarize yourself with local building codes that govern dwv pipe installations. These regulations typically specify minimum pipe diameters, maximum distances between fixtures, and required venting configurations. Professional plumbers often recommend sketching your planned layout and having it reviewed by a local inspector before starting work.
Installation Techniques for DWV Systems
Proper Cutting and Assembly Methods
When working with dwv pipe, precise cutting is essential for proper fit and function. Mark your cutting lines clearly and use a miter box if necessary to ensure straight cuts. After cutting, always clean and deburr the pipe ends to prevent debris from affecting connections and flow.
Assembly requires careful attention to detail. Apply primer to both the pipe end and fitting socket, followed by PVC cement. Make your connections quickly and firmly, as the cement sets rapidly. Hold the joint in place for about 30 seconds to ensure proper bonding, and always follow the manufacturer's recommended cure times before testing.
Slope and Support Requirements
Maintaining proper slope in horizontal dwv pipe runs is crucial for effective drainage. Use a level regularly during installation to verify your slope measurements. Install pipe supports every 4 feet for horizontal runs and 10 feet for vertical stacks, using appropriate hangers that won't damage the pipe.
Consider temperature changes and potential movement when installing supports. Allow for expansion and contraction by not making hangers too tight, and use isolation pads where pipes might contact metal or concrete surfaces.
Advanced Installation Considerations
Venting System Integration
The venting component of a dwv pipe system is crucial for proper drainage function. Vent stacks must extend through the roof and be properly sized to allow adequate air flow. Consider local climate conditions when planning vent locations, ensuring they won't be blocked by snow or debris.
Strategic placement of vent connections helps prevent vacuum effects that could empty trap seals. Each fixture typically requires its own vent connection, though common vents can sometimes serve multiple fixtures when properly sized and configured.
Specialized Fittings and Transitions
Different sections of your dwv pipe system may require specialized fittings to accommodate direction changes, connections to fixtures, or transitions between different pipe materials. Understanding the proper use of reducers, wyes, and cleanouts is essential for a properly functioning system.
Install cleanouts at key points in your system to allow for future maintenance access. Consider using double wye fittings in areas where multiple lines converge, and ensure all transitions between different materials use approved methods and fittings.
Testing and Maintenance Procedures
System Testing Protocols
After completing your dwv pipe installation, thorough testing is essential to verify system integrity. Conduct both air and water tests according to local code requirements. Typically, this involves plugging all openings and filling the system with water to check for leaks.
Document all test results and have them verified by local inspection authorities if required. Address any leaks immediately, as even small problems can lead to significant issues over time.
Long-term Maintenance Strategies
Establish a regular maintenance schedule for your dwv pipe system. This includes periodic visual inspections of accessible pipes and fittings, checking for signs of leaks or damage. Clean drain lines regularly to prevent buildup and potential blockages.
Keep detailed records of any repairs or modifications to your system. This documentation can prove invaluable for future maintenance or when selling the property.
Frequently Asked Questions
What is the difference between DWV pipe and regular PVC pipe?
DWV pipe is specifically designed for drainage systems and has thicker walls to handle waste and vent functions. Regular PVC pipe is typically meant for pressure applications and may not be suitable or approved for drainage use. DWV pipe also comes with specific fittings designed for proper waste flow and venting.
How long does a properly installed DWV system typically last?
A well-installed dwv pipe system can last 50 years or more when properly maintained. Factors affecting longevity include installation quality, usage patterns, and local water conditions. Regular maintenance and prompt repair of any issues can help extend system life significantly.
Can I mix different types of pipe materials in a DWV system?
While it's possible to mix different pipe materials in a DWV system, it must be done using approved transition fittings and methods. Always consult local building codes and manufacturer guidelines when combining materials, as improper transitions can lead to leaks or system failures.
What are the most common installation mistakes to avoid?
Common mistakes include insufficient slope, improper venting, using unauthorized fittings, and inadequate support. Other frequent errors involve failing to properly clean and prime joints before cementing, not allowing sufficient cure time, and neglecting to test the system thoroughly before closing up walls or floors.